
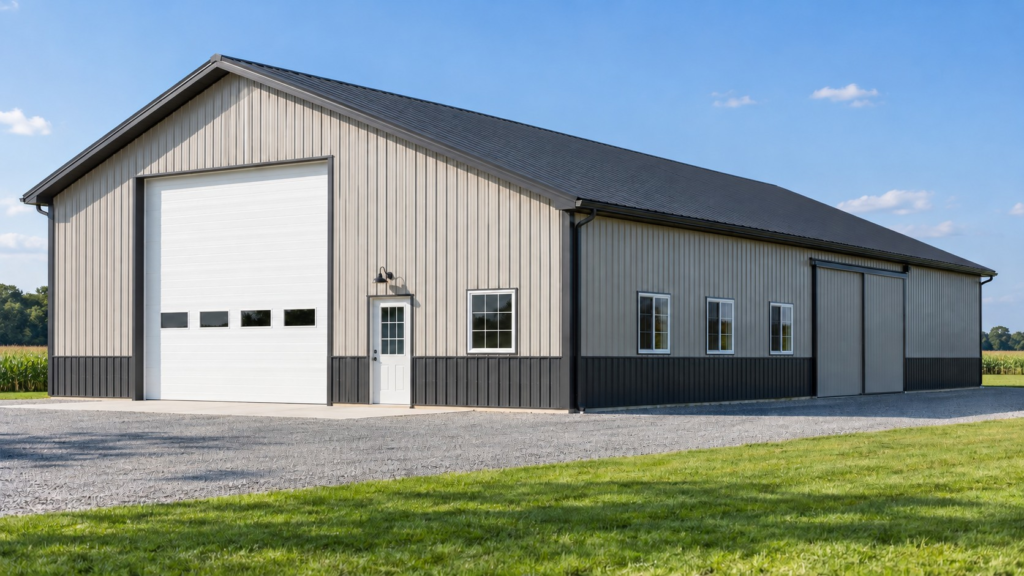
Doors and windows are easy to move on a screen but much harder to relocate after construction. For an equipment building or shop, place openings around real movement: how a trailer approaches, where a worker enters, and which walls need to stay available for storage.
Size the main equipment opening from actual equipment
Measure the widest and tallest item that needs to pass through, including mirrors, attachments, racks, and anything carried above the machine. Then consider the approach angle and interior maneuvering space. An opening can have adequate clear width and still be awkward if the driveway or interior aisle is too tight.
Overhead and sliding doors solve different access problems. Compare clear opening, weather exposure, operation, space around the door, and the look of the building. The preferred choice depends on the project, not a single standard size.
Give people a convenient route
A walk door keeps everyday access simple when there is no reason to open a large equipment door. Put it near the likely parking area, work zone, or path to another building. Check its swing, grade, steps, and relationship to wall-mounted storage.
If a design includes several separate work areas, map the route between them. One extra door may save repeated trips around equipment; too many openings can also consume valuable wall space and affect the material scope.
Use windows with a purpose
Windows can brighten a workbench or help you see a driveway from inside. Place them where that benefit matters. Consider glare, privacy, storage walls, and the intended insulation or conditioning of the building. Coordinating window locations with interior equipment avoids a common late-stage redesign.
Keep a simple opening schedule with each type, approximate size, and wall location. It helps the team review the design and prepare a more reliable material list. You can place openings in the Design Studio, then describe any special equipment or interior needs when you submit the concept.